Category Archives: General Craftiness

When You Wish…

When You Wish…

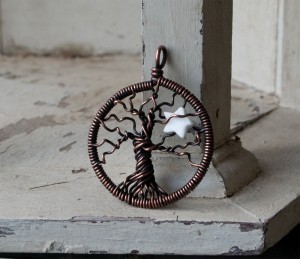
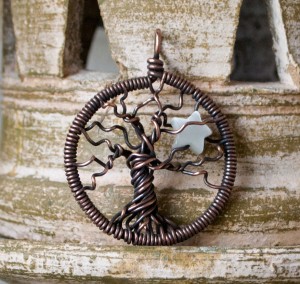
I have been busy! I have long wanted to try my hand at making a tree of life, and indeed I did make a few before. But I wanted to make something based on a feeling I had, a notion, a little voice in the back of my mind.. I don’t know how to explain it, but I sat down one day and my tree came to life.

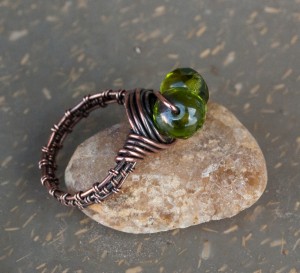
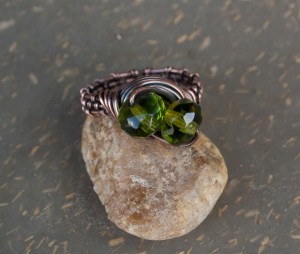
I call it “When You Wish Upon A Star” and have made several of these now. I will soon be listing them in my shops! I have many more tree ideas, among other things, and I am planning on getting them all created to my satisfaction in the next few days. I have been playing with rings lately. My favorite by far is my Lost Copper ring:
 

I am quite pleased with it, and plan to make this and many more to list in my shops!

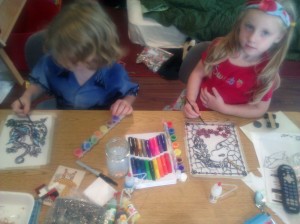
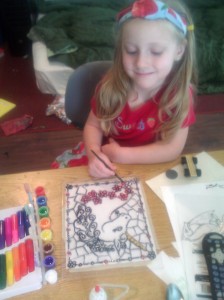
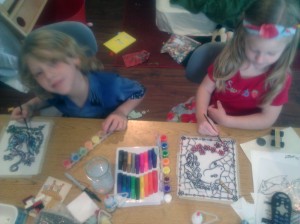
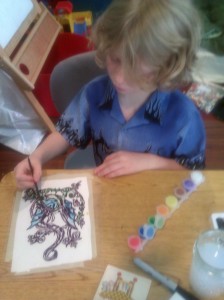
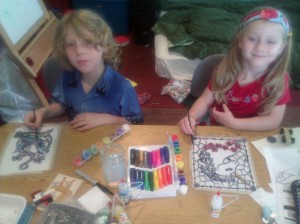
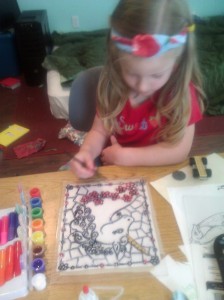
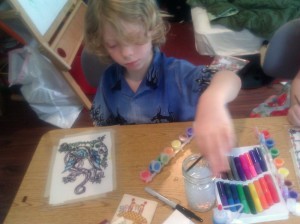
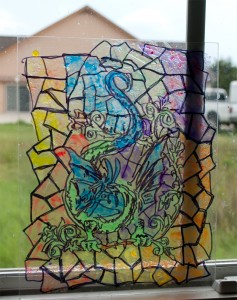
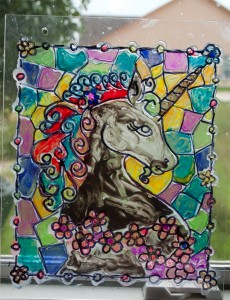
In other news, our “stained glass” was a hit! The kids had a great time being creative and getting involved in a different medium then they usually get to play with, and the results were fun and beautiful! I have really creative kids! We were going to draw our own pictures to use, but they started getting frustrated with it, so we picked out “coloring pages” that we found on the internet and printed them out. Then, we trimmed them to fit within the boundaries of the plexiglass that we bought at Lowe’s for a couple bucks a piece. We taped them to the plexiglass on the side we did not remove the protective plastic coating, and flipped it over. On the bare plexiglass, we traced the images with a black Sharpie. I had the brilliant idea that after the Sharpie, I would go back over the lines with my hot glue gun, thus creating a more stained glass effect by having the raised wells in which the paint would go, and not run all over the whole thing. However, my children have very keen eyes for detail, and as such, selected extremely detailed images. After outlining the major largest areas on Valerie’s glass, I decided we would forego it all together on Weise’s glass. Then the paints came out. I found “stained glass paints” on clearance at Hobby Lobby several weeks ago, and L brought over more, as I had asked her to pick up the two colors Hobby Lobby didn’t have-we now have enough to last us awhile 😉
The kids painted and perfected, and the end results are fantastic!

Here are the awesome results:

Can you guess which is whose??? It was fun, and I’m sure it’ll be happening again soon! Well, it’s a raining afternoon, and I LOVE to craft when it’s rainy, sort of a meditation.. So, until next time, peace out! =^..^=

Bead Soup Blog Hop

Bead Soup Blog Hop

Well, today was the deadline to mail out our Soup ingredients, and I am very proud of myself for having had it packed and ready to go for two days! For those who don’t know, I am The Great Procrastinator. A “If it weren’t for the last minute, nothing would ever get done” kinda girl. Which usually causes me to panic and rush at the last minute, missing something, and regretting very much that I didn’t get the job done sooner, because when it’s done like that, I never feel that I did my best. So ANYway, I piled the kids into the car and drove on out to the little poke country post office and mailed my package. I didn’t fancify my packaging. In fact, it was very practical, and very padded! I just wanted the Soup to get there without any breakages. I can’t wait to hear if Gretchen likes it or not!! She makes some WAY groovy things-the very kind of things I LOVE-so I can’t wait to see what she makes with the Soup! You can see some things on her blog at Art Food Lodging. We have the very final reveal date: August 25th!! So stay tuned, as I will definitely be posting about it, and stoking the anticipation! =^..^=

The BIG REVEAL Is Here!!

The BIG REVEAL Is Here!!
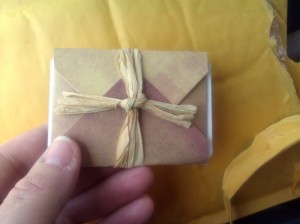
 Well, the big day is finally here! For once, I finished a project ahead of time!! When I finally received the focal in the mail, (ok, it wasn’t an incredibly LONG wait, it just felt like it was, because I was SO excited to have been included in this!!) I was in in love with the packaging:
 
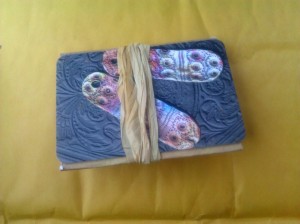
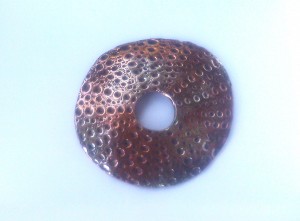
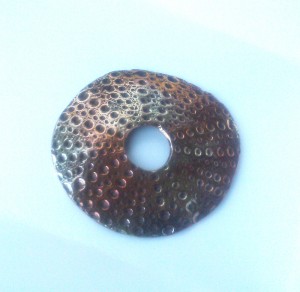
Yes, I actually took pictures as I unwrapped it! When the focal was revealed, I was in awe of the beautiful colors and depth of detail this simple, yet gorgeous piece of metal held:
I’m sorry about the lack of quality in these pictures-for some reason, I didn’t use my normal camera, and these are on a tired cell phone!This focal sat in my “new stuff” bowl on my desk staring at me for days……  I contemplated many different projects-bracelet? Necklace with this as the focal, wire wrapped and adorned with wire and beads? But the center begged to be a toggle, it seemed to me, and yet, it demanded to be the focus of whatever I came up with. I toyed with strung beads, handmade chain, leather, but it just didn’t seem quite right. Finally, as I was cleaning off my desk, I came across my box of copper washers, aka, links. 😉
I scooped up many, and off to the garage I went. After firing, I had the Muscle drill holes for me I admit, I am intimidated still by the drill press, two on each edge, opposite each other. Next, I torched them again, pickled, and then hammer the daylights out of them until I was happy with their shape and texture. All that hammering gave these pieces some awfully sharp edges, so I decided to tumble them for awhile with a burnishing solution. I used too much-my first time using it-and it made my barrel very unhappy and my stainless steel shot black and sticky! But a little tomato paste cleared it all up.
The pieces looked great. But I wanted to add a little color to them. I thought about LOS, Gun blue, and all the other things I’ve tried in the past, but none of them felt quite right-the color wasn’t quite what this focal needed to compliment it. Then I remembered something I had wanted to try-“painting with fire”! I strung all the little washers and the figure 8’s I made as connectors, and the toggle I made onto a scrap piece of 12g wire, and run my torch over it lightly, just until the color changed. Then I quenched them quickly in water. Perfect. The pieces were then sealed with a clear glossy polyurethane.
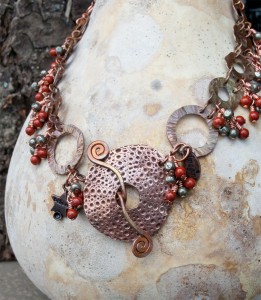
Adding beads was a major necessity. I felt they were required to help bring out certain colors in the copper pieces and the focal, and to make it a little more flirty, girly and fun! Pyrite nuggets from a distant bead show, and little red jasper rounds from Magpie Gemstones created sweet little dangle clusters. Two copper charms on either side completed the necklace!

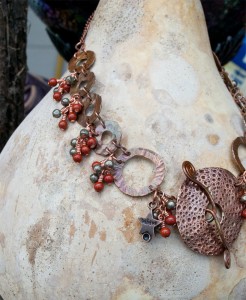
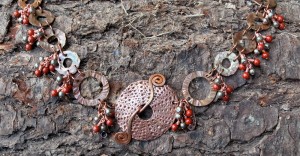
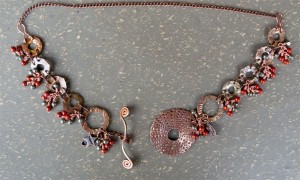
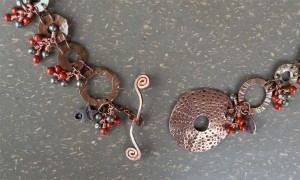
I was trying desperately to capture the great colors that torching the copper brought out, and how they compliment the focal!
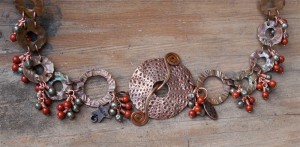
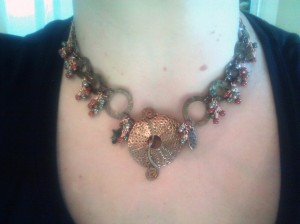
Playing with different displays!
I love my new necklace!
So, that’s what I ended up turning that great little focal into! Please check out my partners in creating by clicking through this list of blogs and see what they all have created, too! Thank you for looking, and thank YOU, Kristi Bowman, for including me and sending me this fantastic creation of yours!

Blog Hop!

Blog Hop!

Just a quick update, today. I’ve been sick as a dog the past two days, so no work has been done. But I did get an email from Kristi Bowman of Kristi Bowman Design informing me that I won one of her awesome copper focals and will be participating in the Copper Focal Blog Hop she’s hosting! This will be my first blog hop, and my head is swirling with ideas. I cannot wait to see which one I get, and I will be sure to share what I come up with. I hope you’ve had a great extended weekend, and have remembered the true meaning of Memorial Day by offering a moment of thought to someone who has served and has been lost, to give us the freedom we enjoy. =^..^=

Two steps forward…

Two steps forward…

One step back? That’s how it seems when one is organizing a Craft Room!! Today’s installation of The Crafthopper News will feature updates on Mama’s Craft Room, the W00T from ZeroLandFill Austin last weekend, as well as a few crafty things that happened thereafter.
First up, Craft Room Pictures:
After I finally finished painting, I was worried I would lose momentum, and fizzle out. So I rushed to buy shelving, and decided wire shelves that can hold up to 300lbs per shelf would be best for my fabrics. Fabric can be VERY HEAVY!! I had always wanted to paint the room a “robin egg blue” and in the end, I used two colors-Serendipity for the main wall color, and Oasis for the slanted wall and ceiling. What perfect color names for my Craft Room!
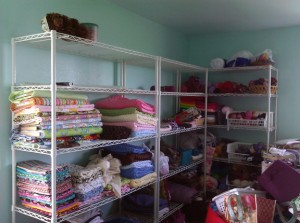
Fabric Storage


That is a closeup picture. To help create the illusion that I had it all going on by that point. In reality, the room was in utter chaos! I had moved everything to the center of the room to paint, and now had also added to the chaos by pulling out every box, bag, or otherwise storage device full of fabric and started sorting through it. The mid-result looked like this:
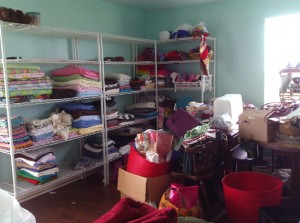
Fabric storage in progress


Not too bad, I suppose, but if you really, really want to know how hard it is to “organize” a Craft Room, take a look at the Chaos that greeted one when one walked through the door:
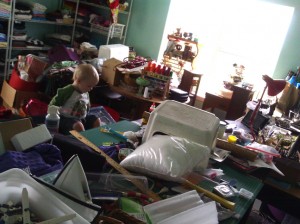
Utter Chaos


Crazy, amrite?? To confound things just a little further, I had much assistance from my little helpers:
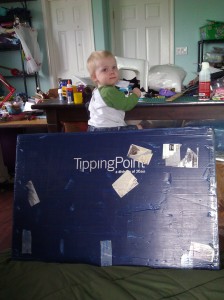
Mama's Helper


He was quite proud of himself for climbing up onto that box, that yes, contained my yarn. Well, some ..of…my yarn. 😉
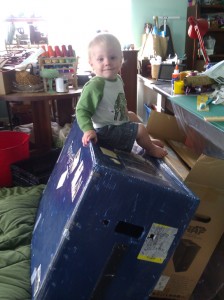
Proud


During the assembly of the shelves, I only suffered one serious injury when I tried to move one of those little plastic pieces up that supports the shelves on the correct groove, and didn’t want to take the entire thing apart, so I thought I could get away with just loosening up one corner, and pushing the plastic piece up, but then when I hammered up, it came right back down, pinching my hand in the process:
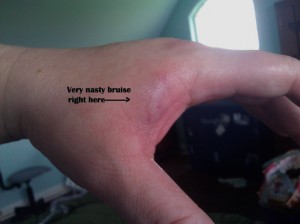
Ouch.


Now, those pictures are from two weeks ago. Remember the beginning of this post, when I said something about two steps forward, one step back? Here’s are a few more pictures, taken last week:
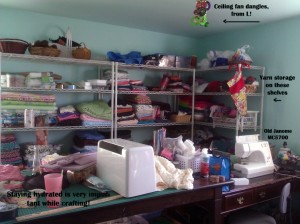
Sewing Area


In the opposite corner, there is a bit of chaos going on as well:
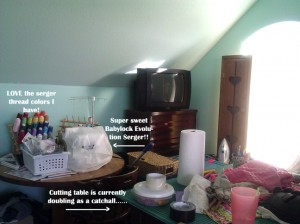
chaos corner


On the opposite side of the room, in one corner, is where the jewelry-making is attempted. Notice I didn’t say “happens”? After yesterday’s fiasco, I can’t say anything gets made. More on that later.
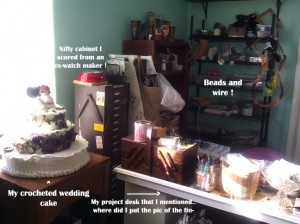
Looking across to the other corner, you can see the Kids’ Corner:
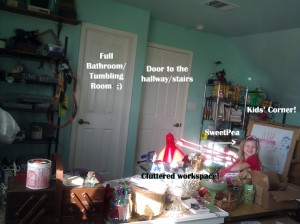
Valerie has claimed Her Seat in the jewelry-making area:
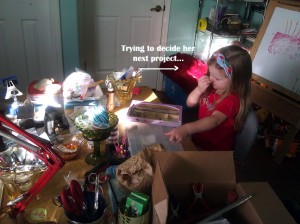
She has made several very sweet necklaces, and is currently working on some rainbow room decor. Pics to come.
So you can see, the more organized I get, the more unorganized I my space becomes! Hopefully, I will have better organized pictures for you soon. Moving the cutting table to its rightful spot in the room sure helped with productivity, and seeing most of my fabric and other materials out inspires me and moves me to create. So far, all I have created is a bigger mess. 🙂

Next up, ZeroLandFill Austin! Here is a few quick pics of our loot:
Here is a picture of the vinyl flooring squares and large ceramic tiles we got:
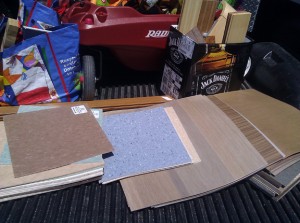
Vinyl flooring, a few large tiles, and carpet squares!


Here is a picture of the wood flooring sample we scored that Tim can use to fabricate knife handles, since they are solid wood!
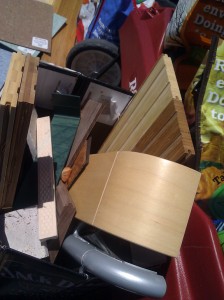
And:
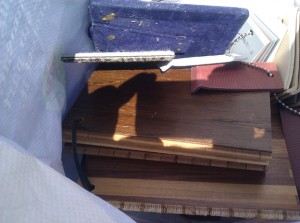
We were afraid the carpet tiles would blow away while we drove, so we tucked them up under the truck box. Here they are, after being pulled out and stacked up. BTW, carpet tiles are HEAVY, and should only be carried by The Muscle:
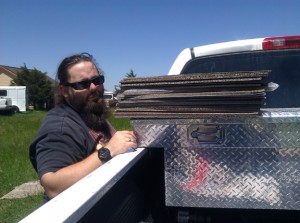
That’s his “Don’t post my picture on Facebook” face. Good thing I’m only posting it on my blog! It’s always important to use proper body mechanics when lifting heavy things: Feet firmly planted in a wide stance, lift with your legs, not your back, and always, always make sure you have a great kilt on!
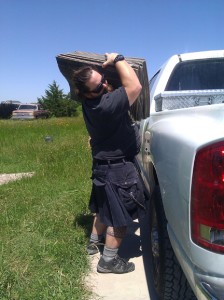
When transporting carpet tiles from one area to another, sometimes the “one-shoulder” technique helps:
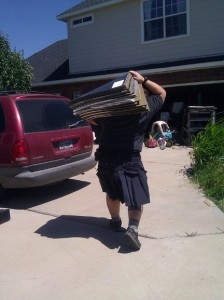
Oh, how I love my burly Strong-man! *Swoon*! Ok, I guess that’s enough torture for him for one day!
Here is what I have done so far with our findings:
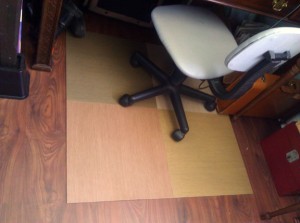
Chair mat under my sewing chair
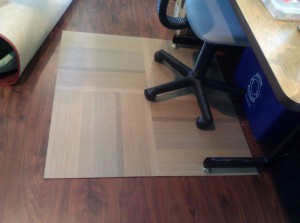

Chair mat under jewelry table chair


So you see, we have started to put them to good use! I duct taped them together, and they have made a huge difference in how well these chairs roll! No more scratching up my laminate.
The carpet squares will also be joined in a similar fashion and are going to replace the worn-out living room rug. It has served us well.

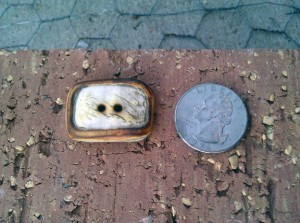
Other crafting news, Tim has discovered a new talent for carving bone! So far, he has made bone buttons:
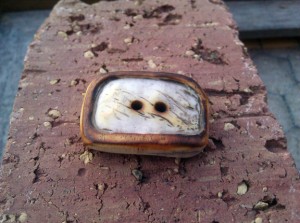
First bone button
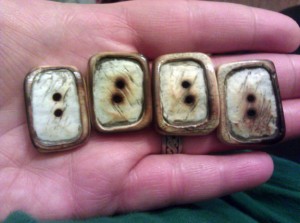
He made four all together.


In addition, he carved a couple hei matau or bone fish-hook. He did a great job!
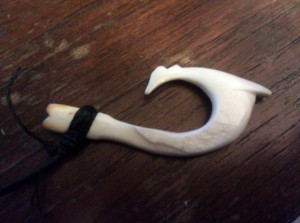
Hei matau


He has also been making antler buttons, from deer he hunted himself:
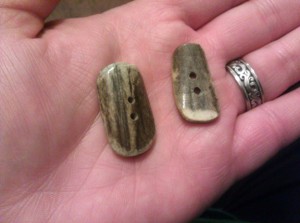
Antler buttons


I have been thinking about listing these all, but gosh darnit, I’m having a hard time parting with them! I keep telling myself, he can make more! But there is something about that very “first one” that just makes you want to hold on to it..
In other news, the kids have been busy building nests to “get more birds or wildlife to move to our yard…..” Complete with glow-in-the-dark stars on a slice of oak:
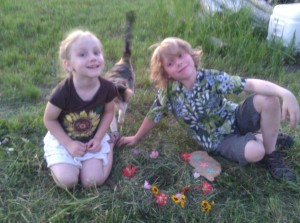
Nest


So proud of themselves.

It was L’s birthday the 15th, and when she was on her way over for her birthday dinner, I realized I didn’t have any birthday wrapping paper, or bag that would fit her present. So I scavenged my Craft Room, and here’s what I came up with:
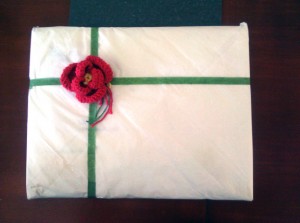
Yes, this is what happens when a crafthopper realizes she doesn’t have wrapping paper: 4 layers of tissue paper, green floral tape accented with a handmade, crochet flower left over from my wedding! =D

I’m going to sign off for now. This has been an all day writing and a certain someone is making it difficult to do much more to it right now. In the next installment, I will follow up on the jewelry-making fiasco this past week, as well as pictures of Valerie’s creations, Weise’s awesome designs, and hopefully, pictures of a much more organized, clean Craft Room!
Til then my friends, peace-out! =^..^=